Upload images or start with the sample
Drag in one image or a group of images. The sample lets you understand the difference between stretching and cropping before editing your own files.
Use this image stretcher when a photo, product shot, banner, or social graphic needs exact dimensions. Stretch the full frame, or crop to a ratio when natural proportions matter more.
Most image sizing problems are practical: a platform needs a fixed size and the source image does not fit. Choose a mode, check the live preview, and download one result or a ZIP for the batch.
Drag in one image or a group of images. The sample lets you understand the difference between stretching and cropping before editing your own files.
The image stretcher offers two modes: stretch uses every pixel from the original, while crop keeps proportions and trims the outside edges.
Use a common ratio such as 1:1, 16:9, 9:16, or 4:5, or enter exact pixel dimensions for a website slot, slide deck, marketplace, or ad spec.
Check every preview at the selected dimensions. If a subject looks squeezed, switch to crop. If important edges disappear, switch back to stretch.
Stretching and cropping solve different problems. Stretching keeps the full frame but can distort shapes. Cropping keeps natural proportions but removes edges. A useful image stretcher should make that tradeoff visible before you download.
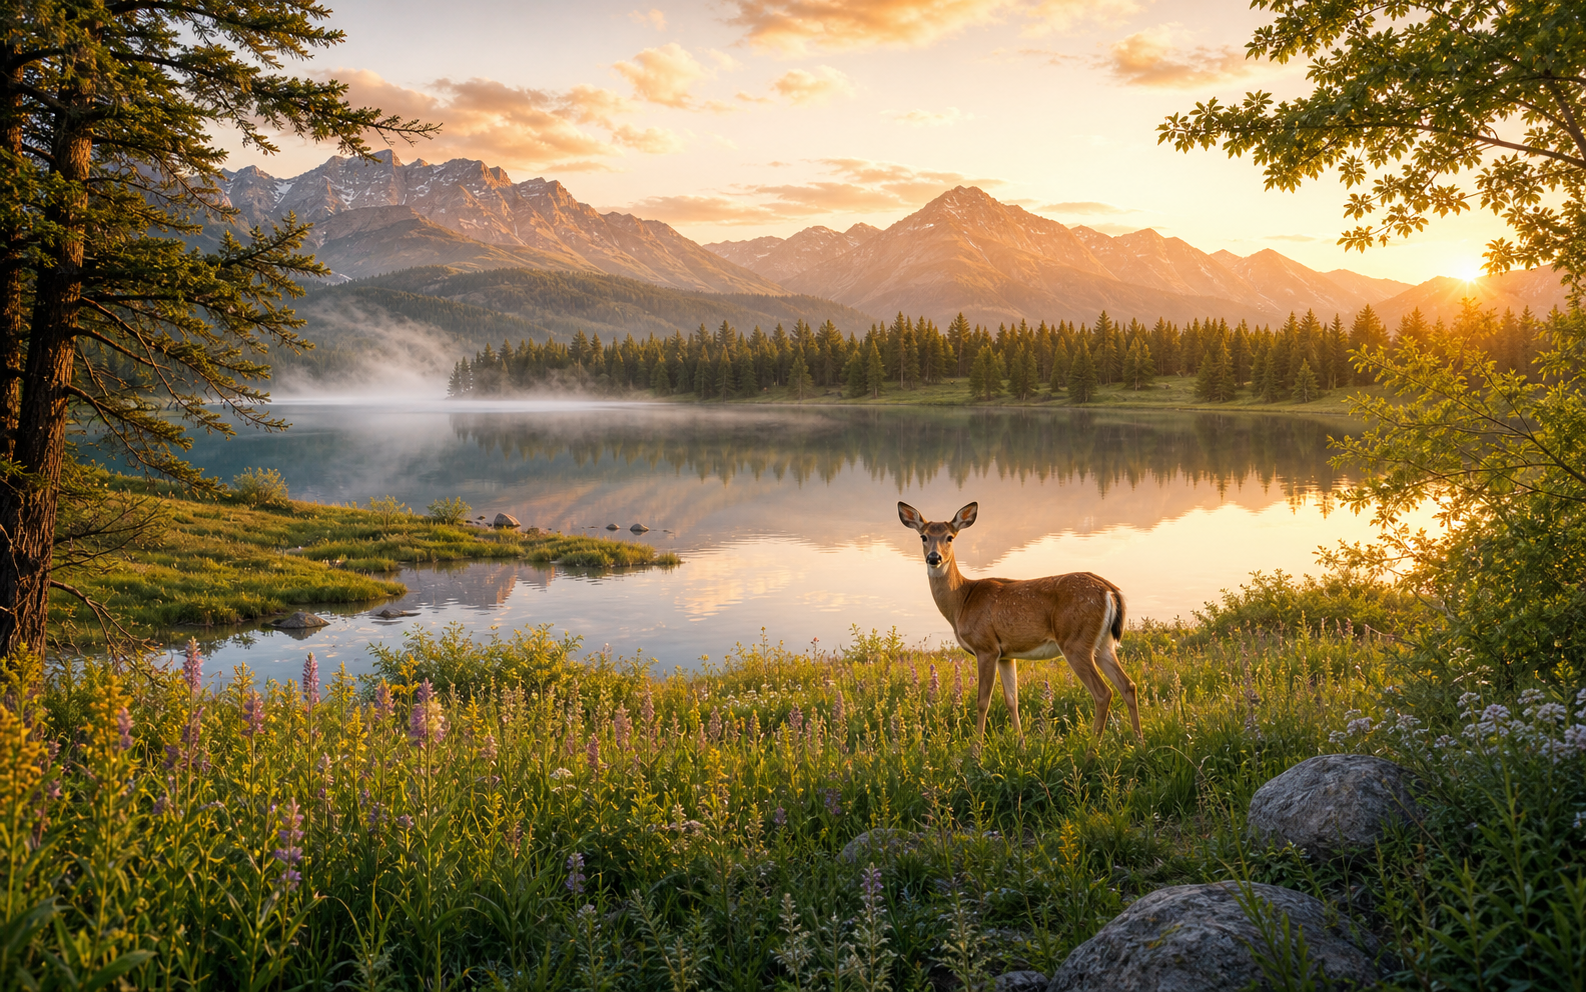
Stretching changes width and height independently, so the entire original frame stays present in the output. It is best when keeping every edge matters more than preserving exact proportions.
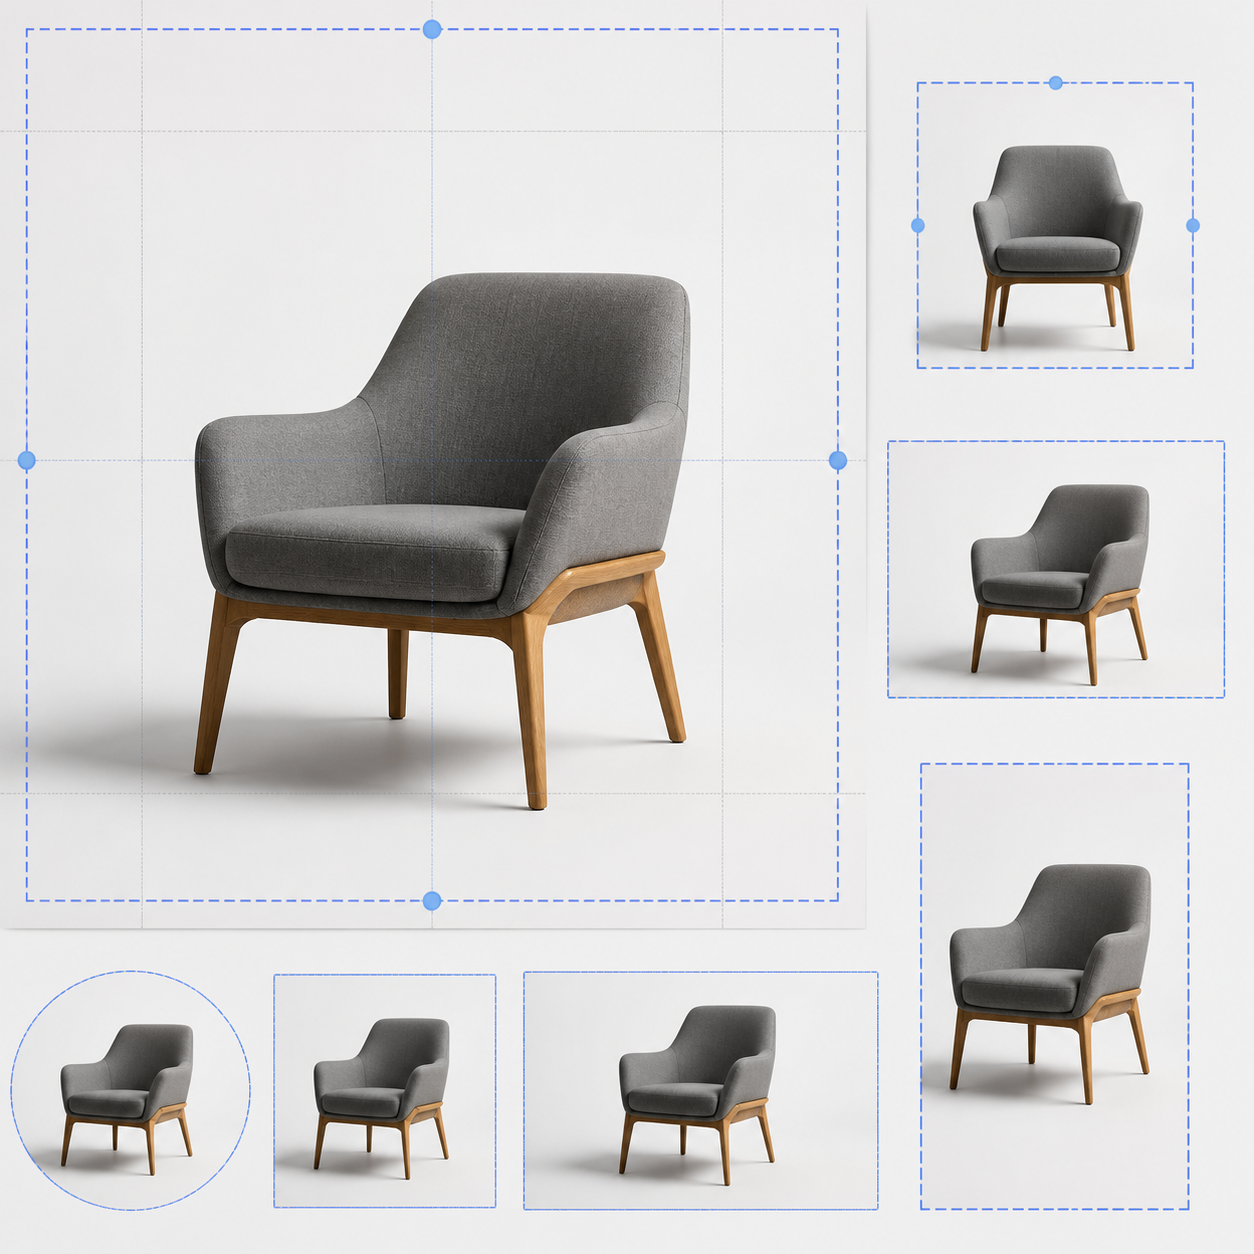
Cropping fits the source image into a new ratio without squeezing the subject. The marked area stays, while content outside it is trimmed. It is usually safer for people, products, logos, and text.
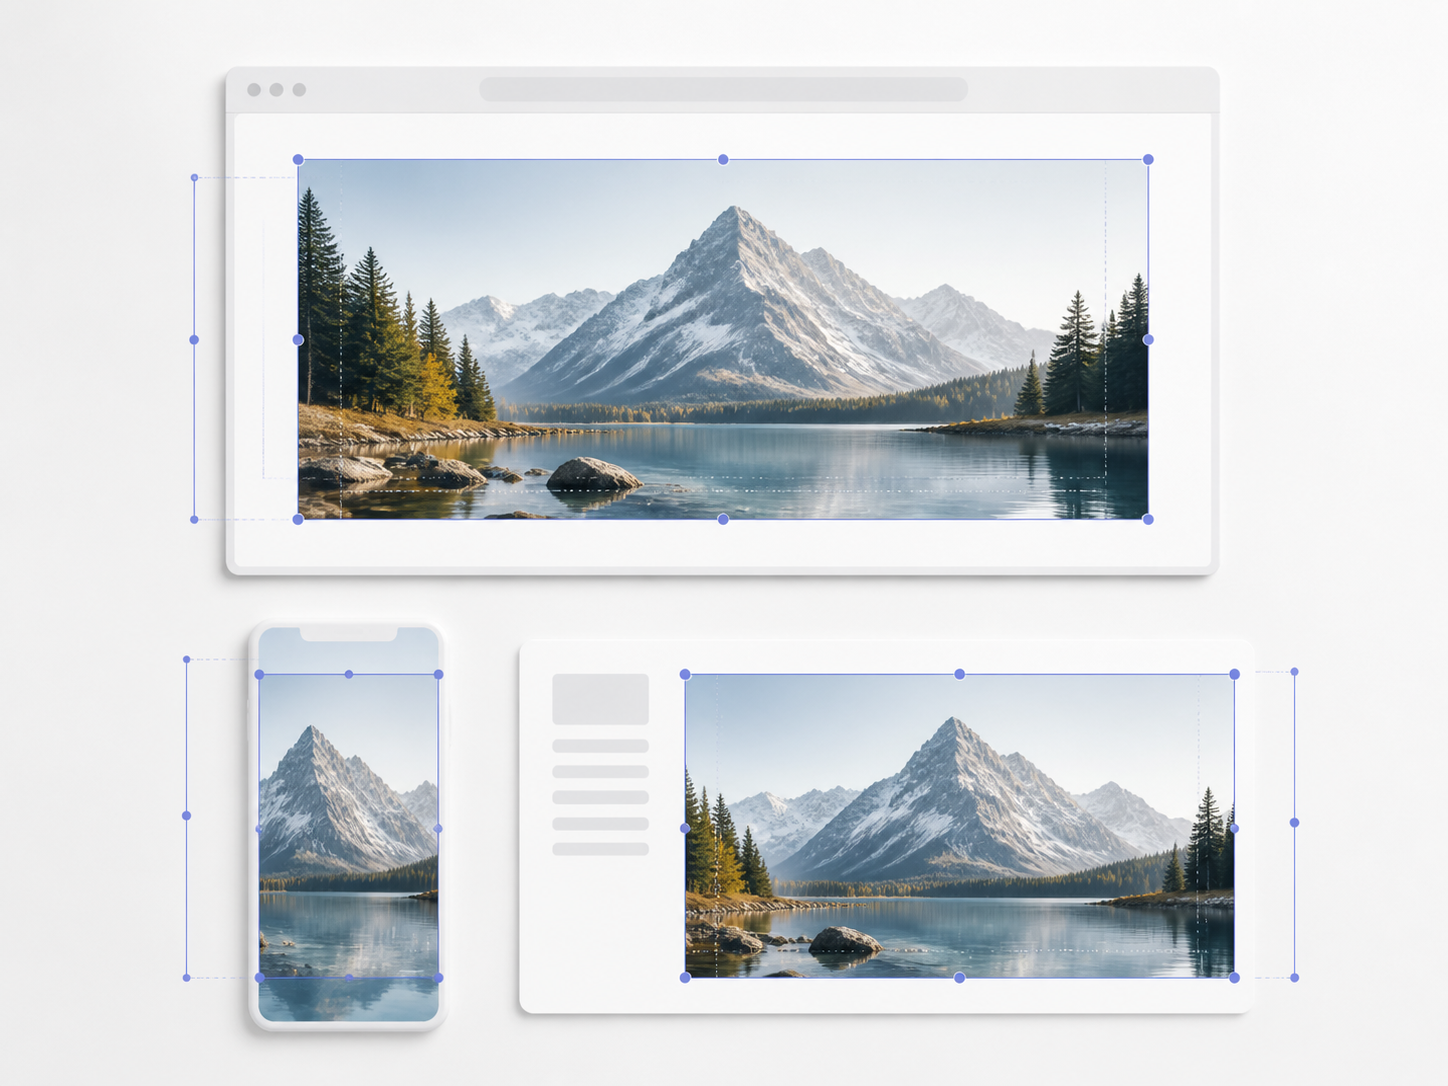
Image sizing often becomes urgent at the end of a project: a blog header is too short, a marketplace thumbnail needs a square export, or a vertical story cuts off the product. This browser-based image stretcher keeps the job focused with visible previews and downloads that match the dimensions you chose.
The tool does not hide the limitation. Stretch a portrait too far and faces may look wide; crop a landscape too tightly and outer context disappears. The preview makes that choice clear.
These are the places where a focused two-mode tool is faster than opening a full design suite.
Crop to 1:1, 4:5, or 9:16 when people and products need to stay natural. Stretch only when the image is a background or texture.
Use exact pixels for a hero slot, feature image, or card thumbnail. Preview wide ratios before you publish so key content is not cut off.
Crop product images to a consistent ratio across a collection. Stretching product photos can change perceived shape and should be used carefully.
Export clean 16:9 slide visuals or campaign images with fixed dimensions. Use crop focus controls to keep the subject in the safe area.
An image stretcher is only as good as the source and target. Enlarging a small file cannot invent real detail, and forcing a photo into an extreme ratio can exaggerate shapes. Cropping a busy photo may remove useful context.
Protect what viewers notice first. For portraits, products, logos, screenshots, and text, proportions usually matter most. For skies, gradients, fabric, abstract art, and simple backgrounds, moderate stretching may be acceptable.
Use the largest clean source available. Downsizing is usually forgiving; enlarging a tiny file can reveal softness and compression artifacts.
If a circle becomes an oval or a product looks wider than normal, use crop. If an edge contains essential information, try stretch.
Extreme ratios are possible, but they are rarely subtle. Small adjustments often solve layout problems without making the edit obvious.
PNG is useful for crisp graphics. JPG is practical for photos. WebP can be smaller for web use when the target platform accepts it.
The image stretcher uses the browser canvas API to process the images you choose. In this static page, the editing work happens locally in the open page instead of calling a remote image API.
Download a selected result as PNG, JPG, or WebP. Batch export uses a ZIP that contains the processed images in the same selected format. For transparent graphics, choose PNG. For photo-heavy pages, JPG or WebP may be smaller depending on the image.
A regular resize tool usually preserves the original aspect ratio. That is useful for smaller files, but it does not solve every layout problem. An image stretcher is for moments when the target box is already fixed.
This image stretcher keeps the decision explicit. Stretch mode is honest about distortion; crop mode is honest about losing edges. It also avoids AI background extension, which creates new content. Here, the result comes only from the image you provide.
Quick answers for choosing stretch, crop, single-image editing, and batch output.
Start with the sample image, compare stretch and crop, then upload your own files when you know which tradeoff fits your job.